Prototype Payload Assembly
Last month we successfully assembled the first ORCASat payload. This is a prototype unit, but we are confident that we could fly with it if needed. We are planning on assembling the flight unit later this month which will have a few minor improvements. We put together a video slideshow of the assembly process.
The assembly process consisted of taking the electronics from the engineering model we had in our FlatSat and transferring them into the mechanical hardware we intend to fly with. Not shown in the video slide show is the integrating sphere interior coating process. Once the whole payload unit was assembled, we performed a fit check inside the prototype spacecraft to confirm the payload unit was able to be mounted inside the spacecraft and that all the electrical harnesses were easily accessible and able to be connected. Lastly, the payload unit needs to be fully qualified for space flight, which is what we are doing right now!
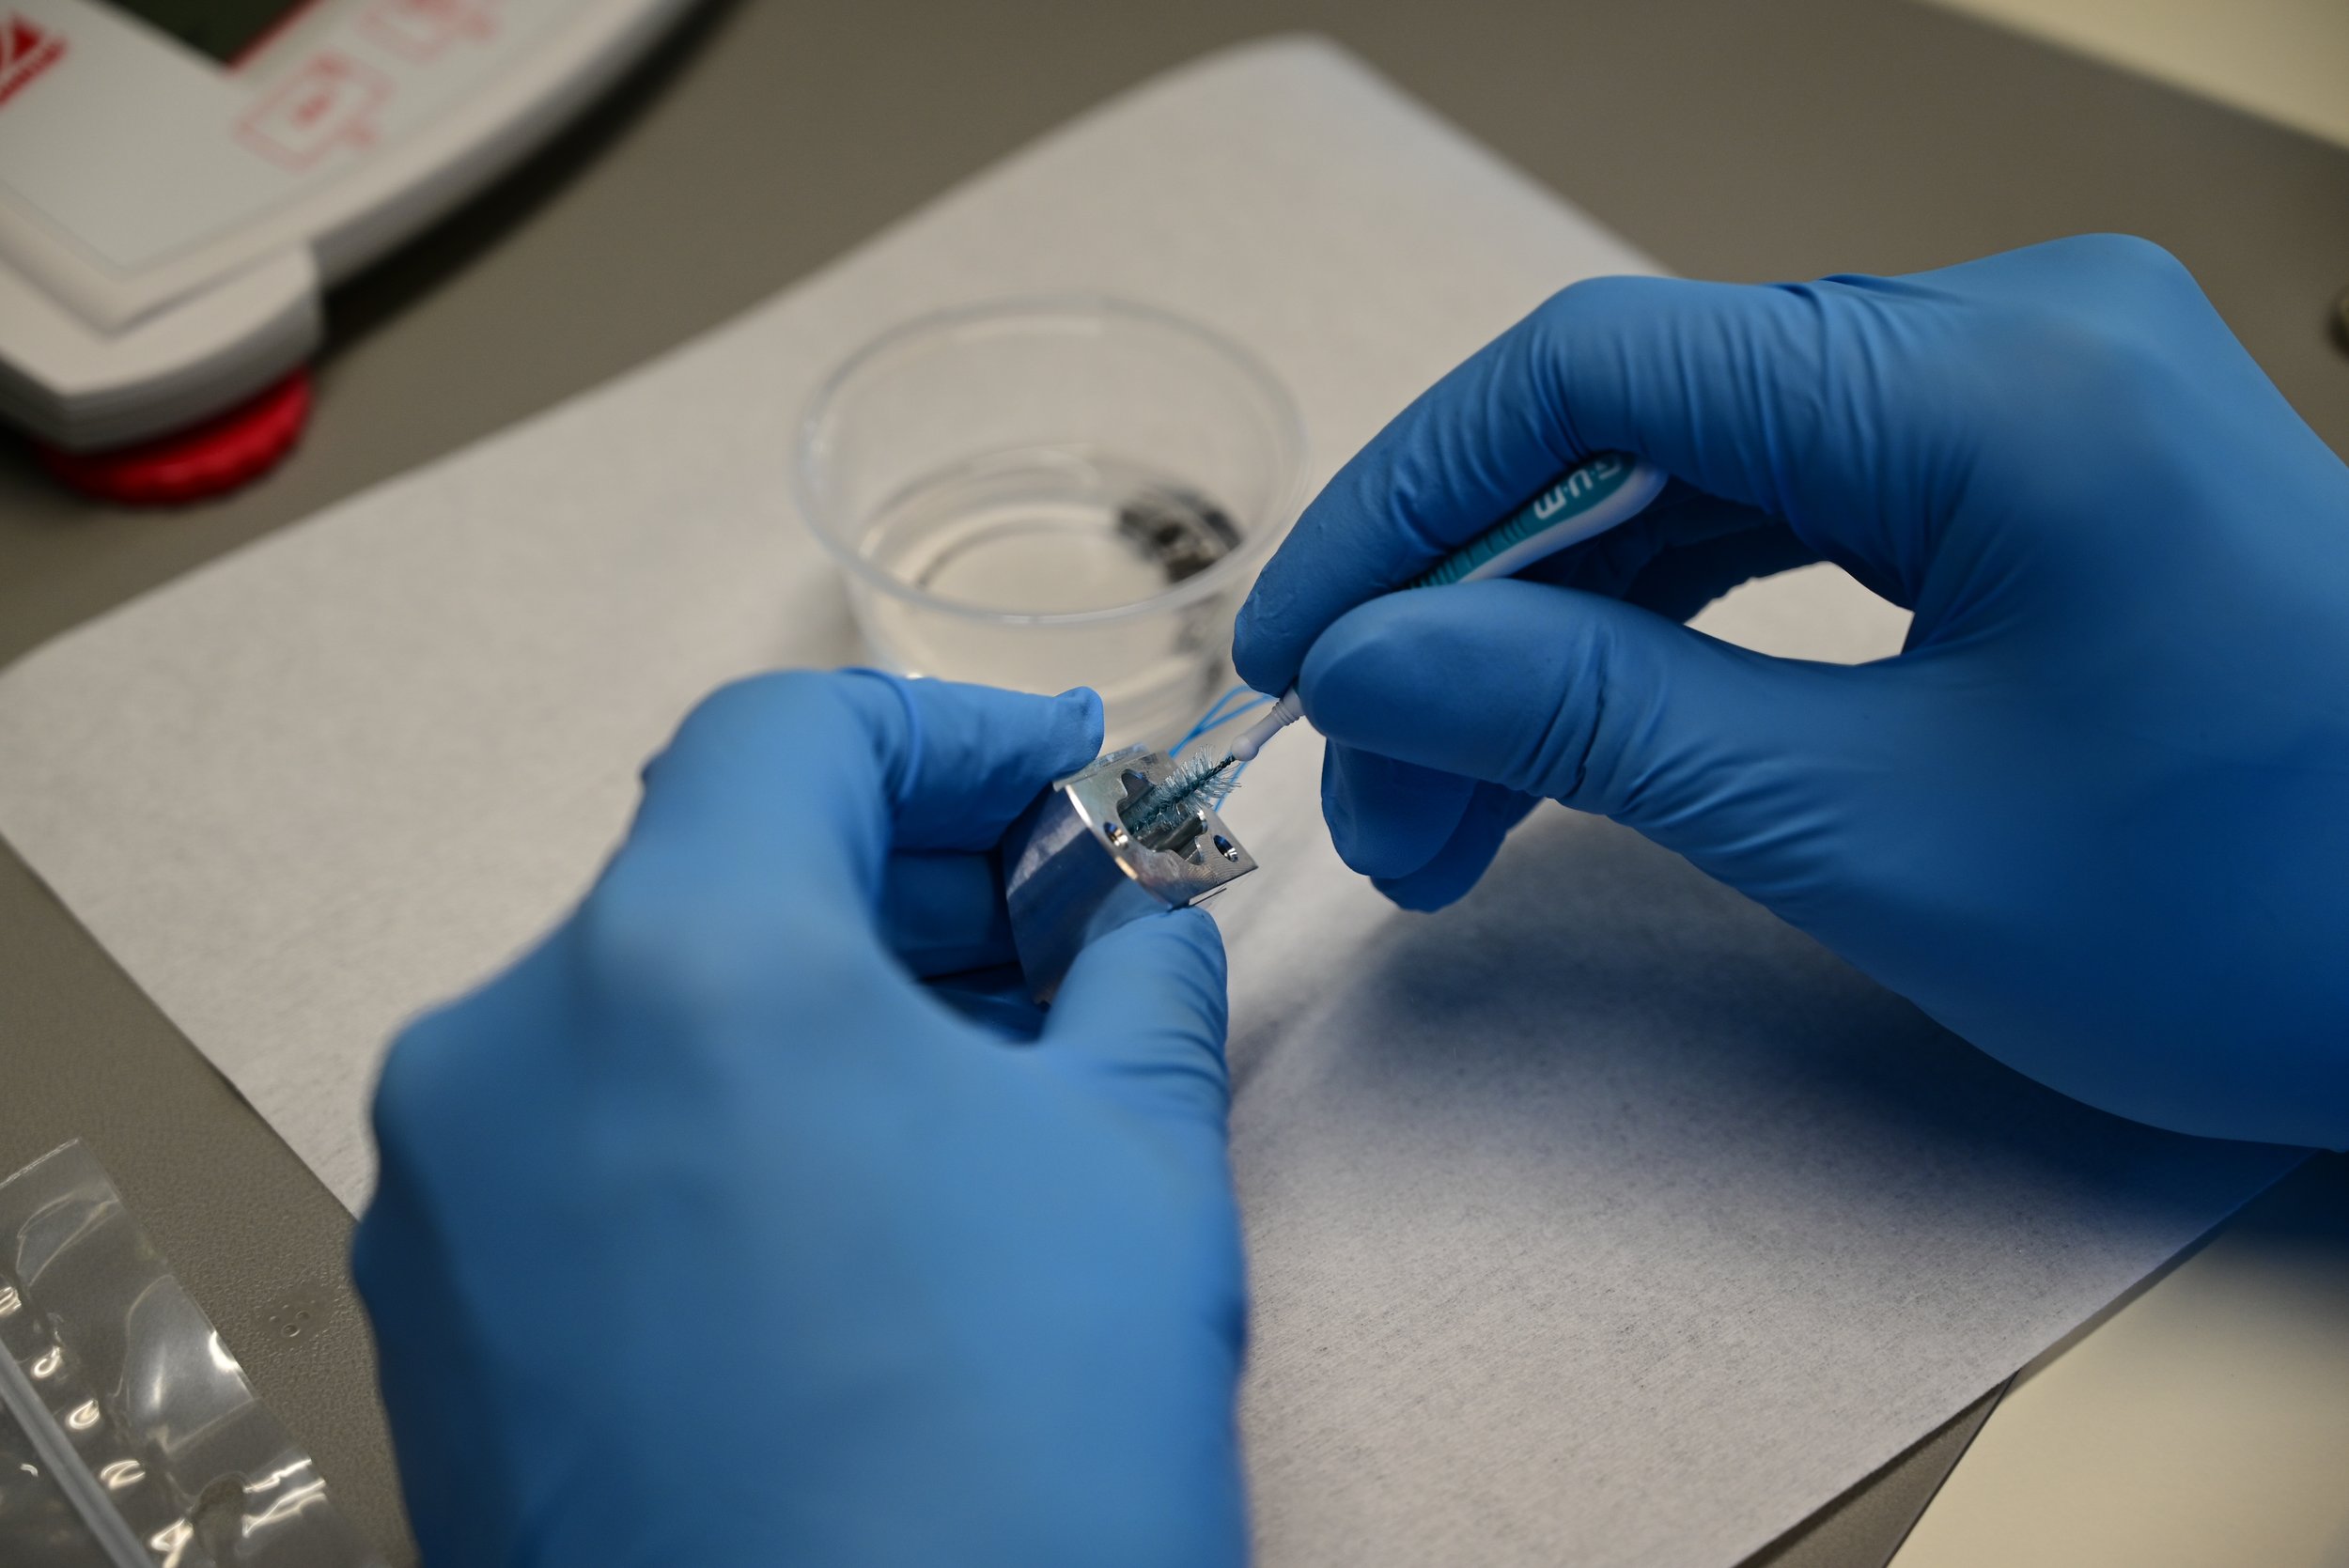
The very first step is to organize all the parts and clean them thoroughly. Some parts required minor adjustment to get a better fit.
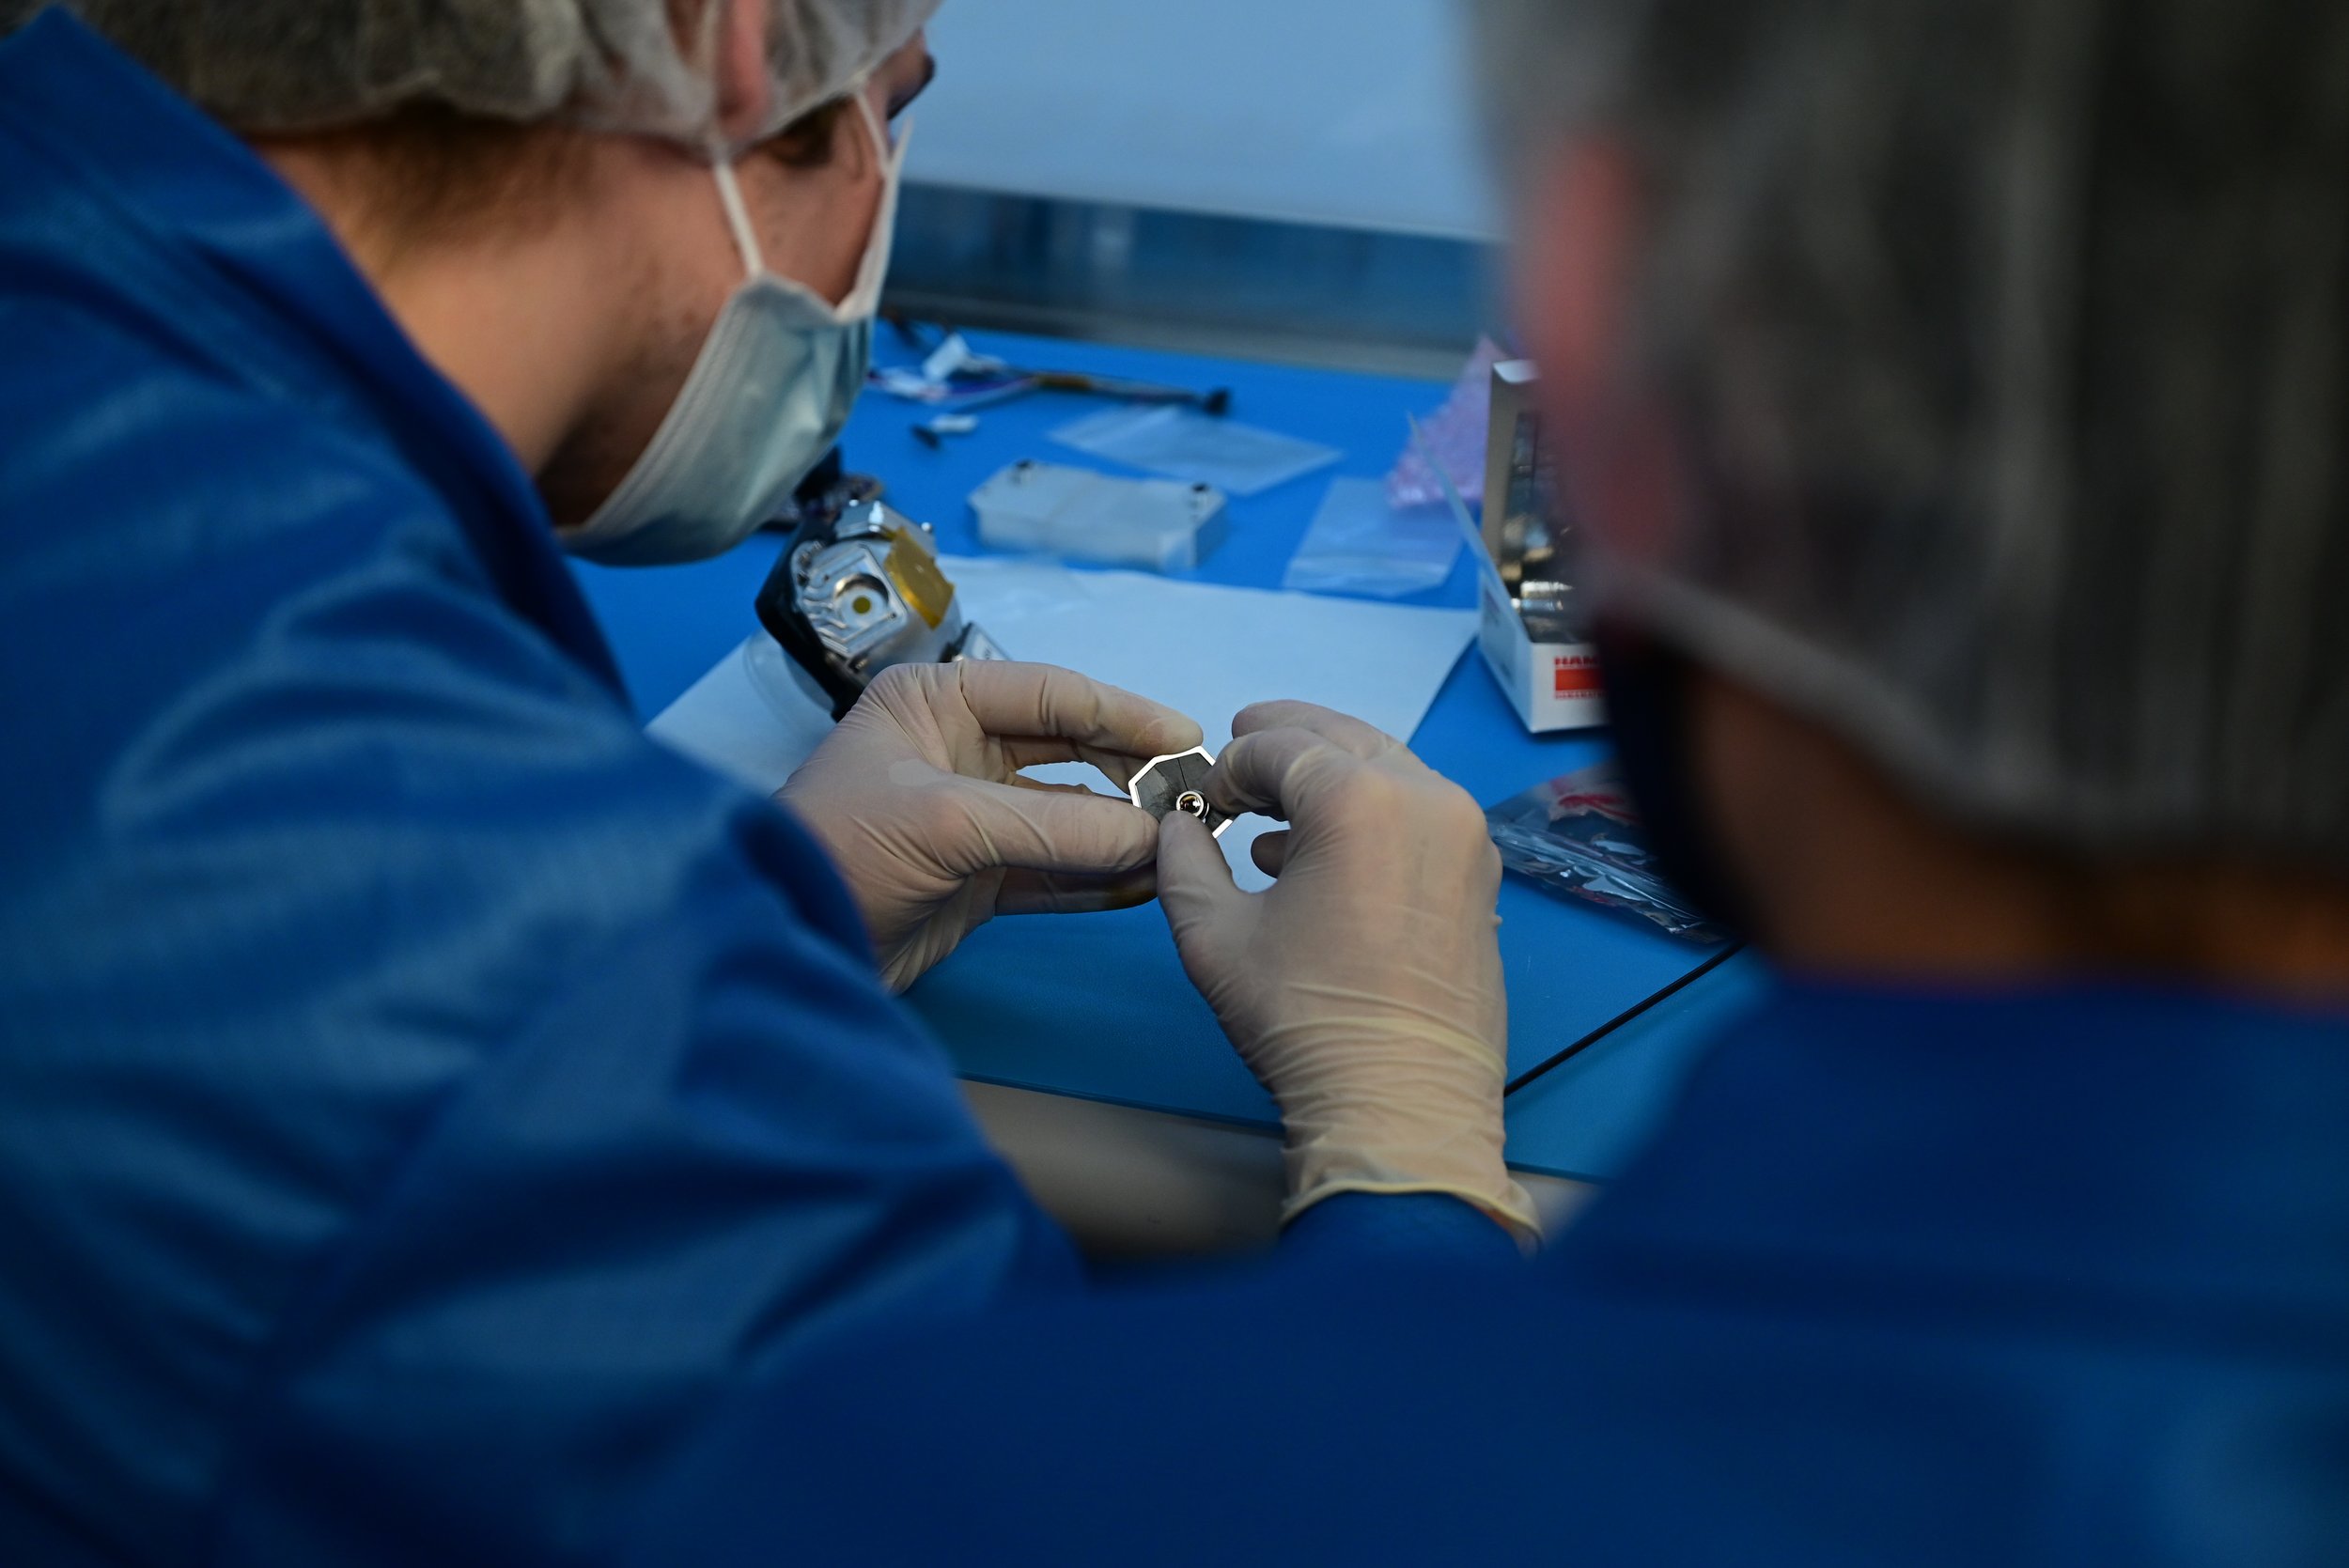
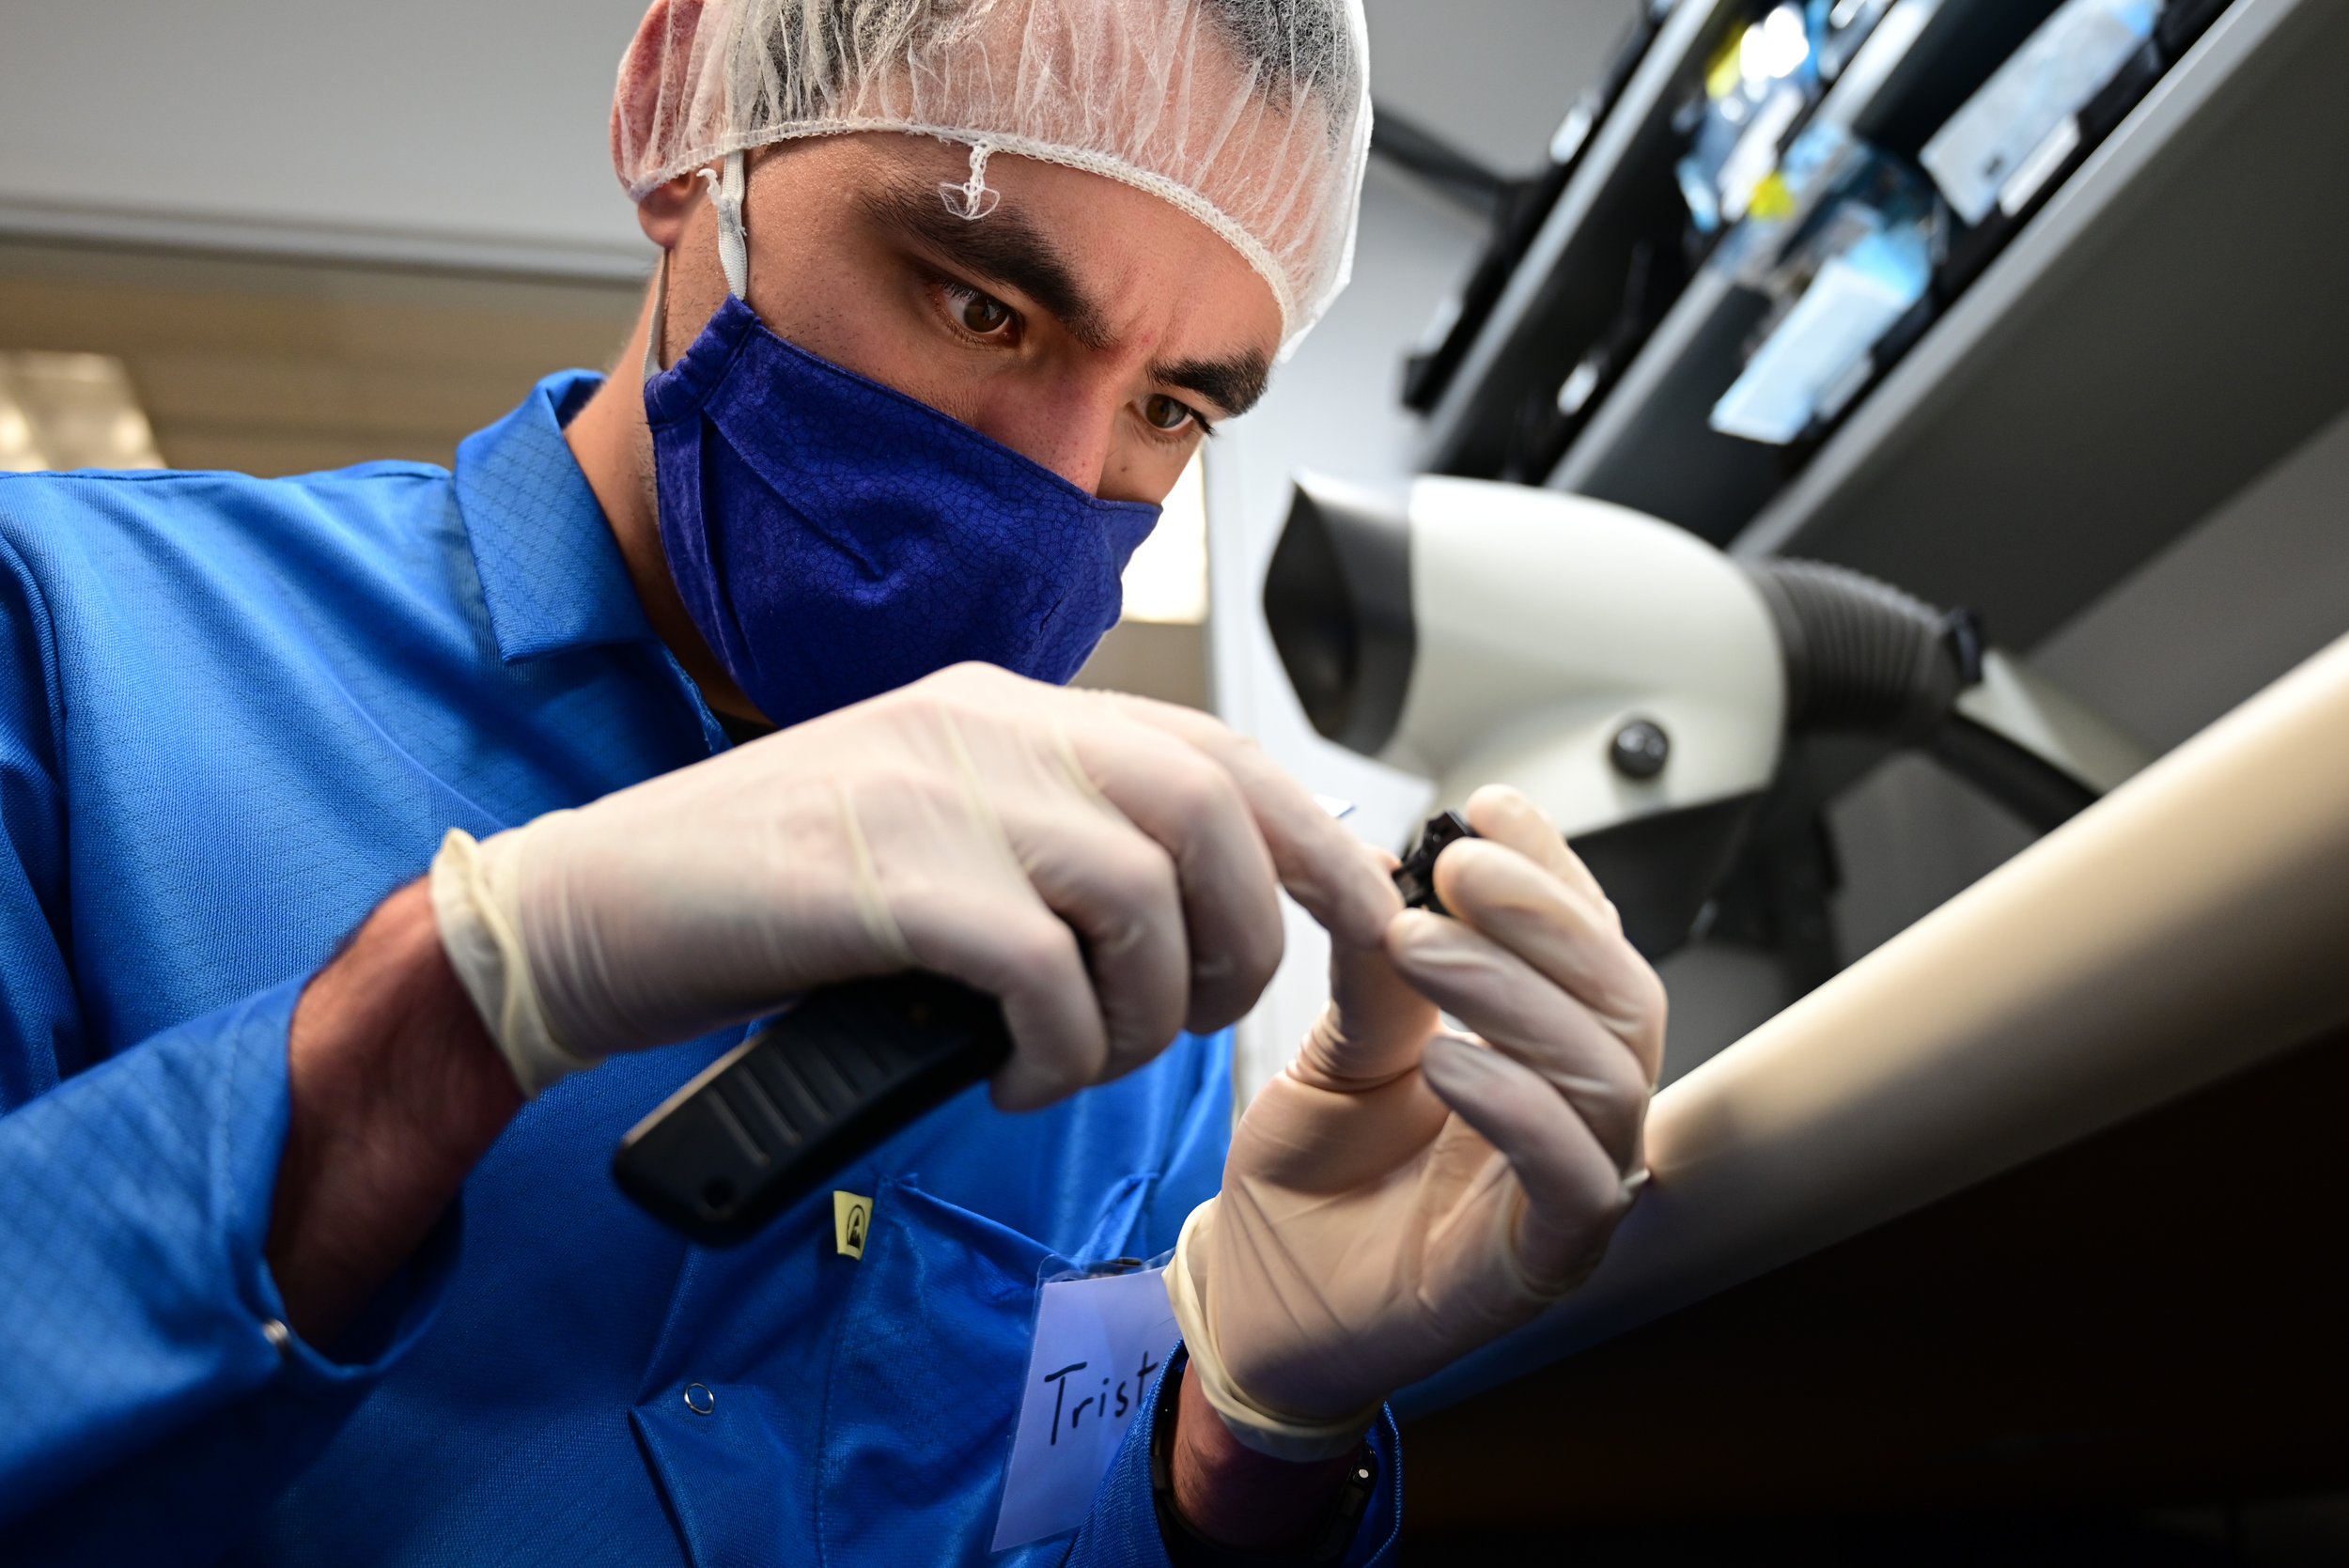
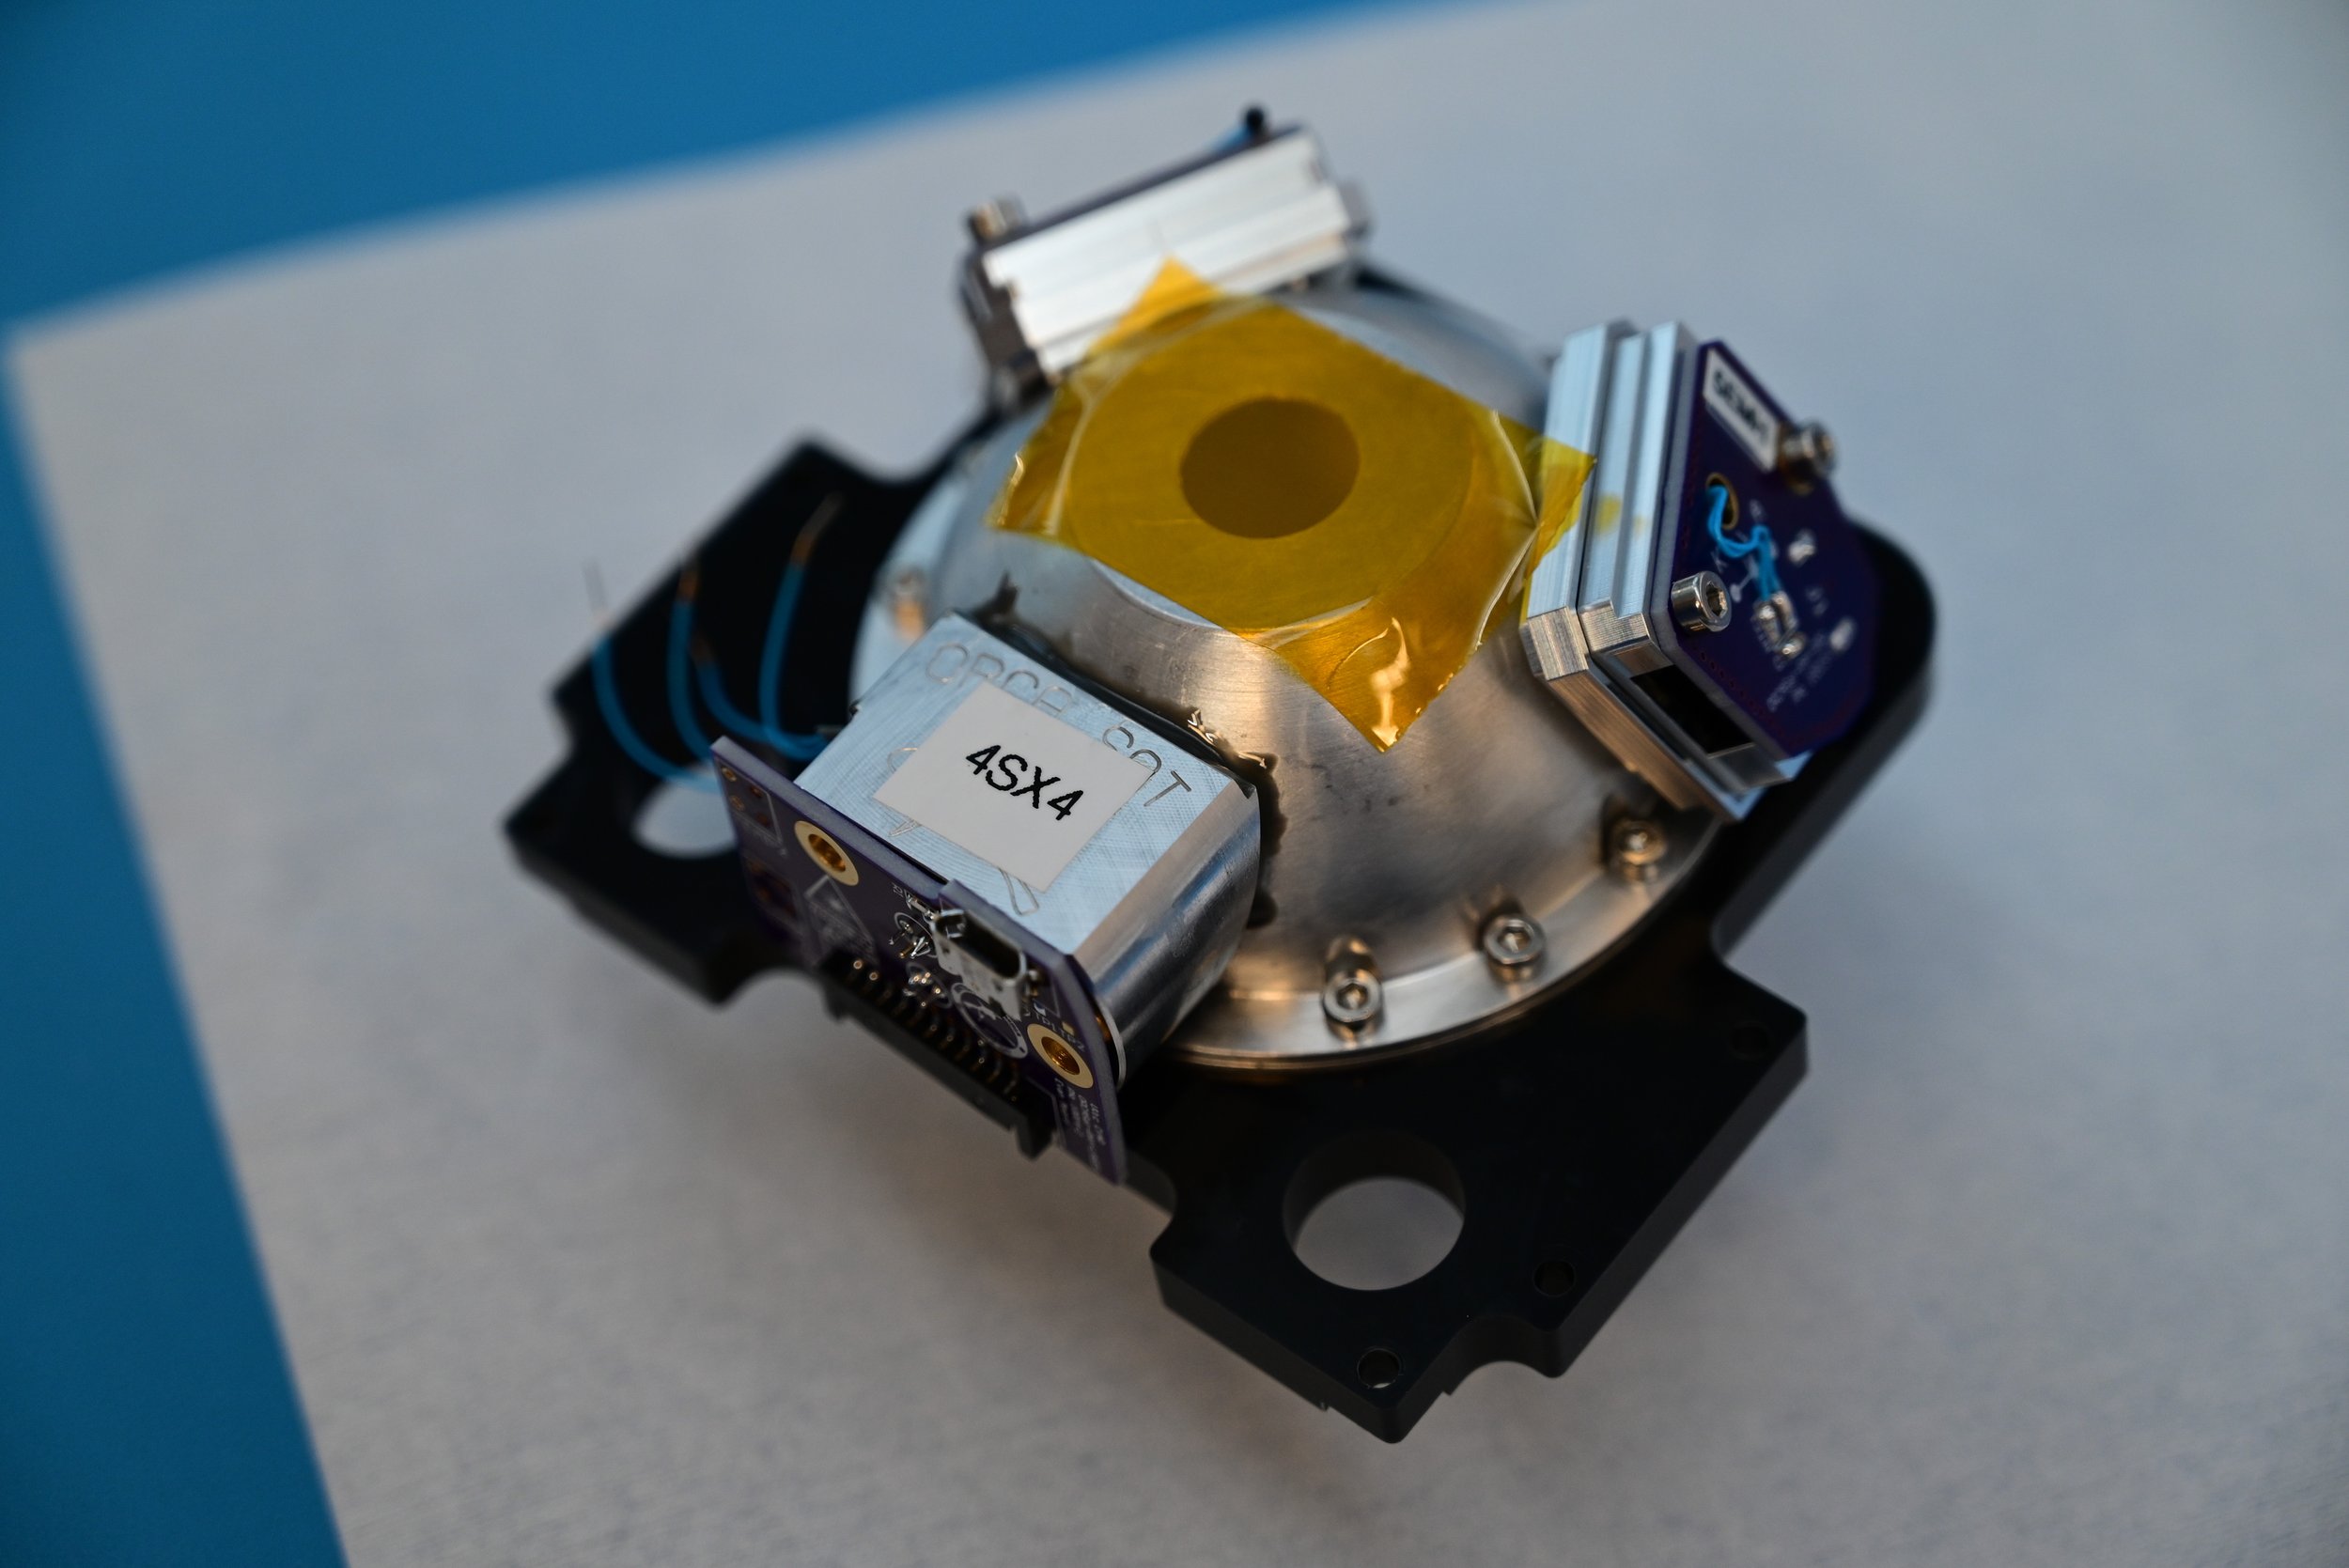
Photodiodes were then installed into the integrating sphere. There are two different photodiodes used for flight, one Si photodiode one and one InGaAs photodiode.
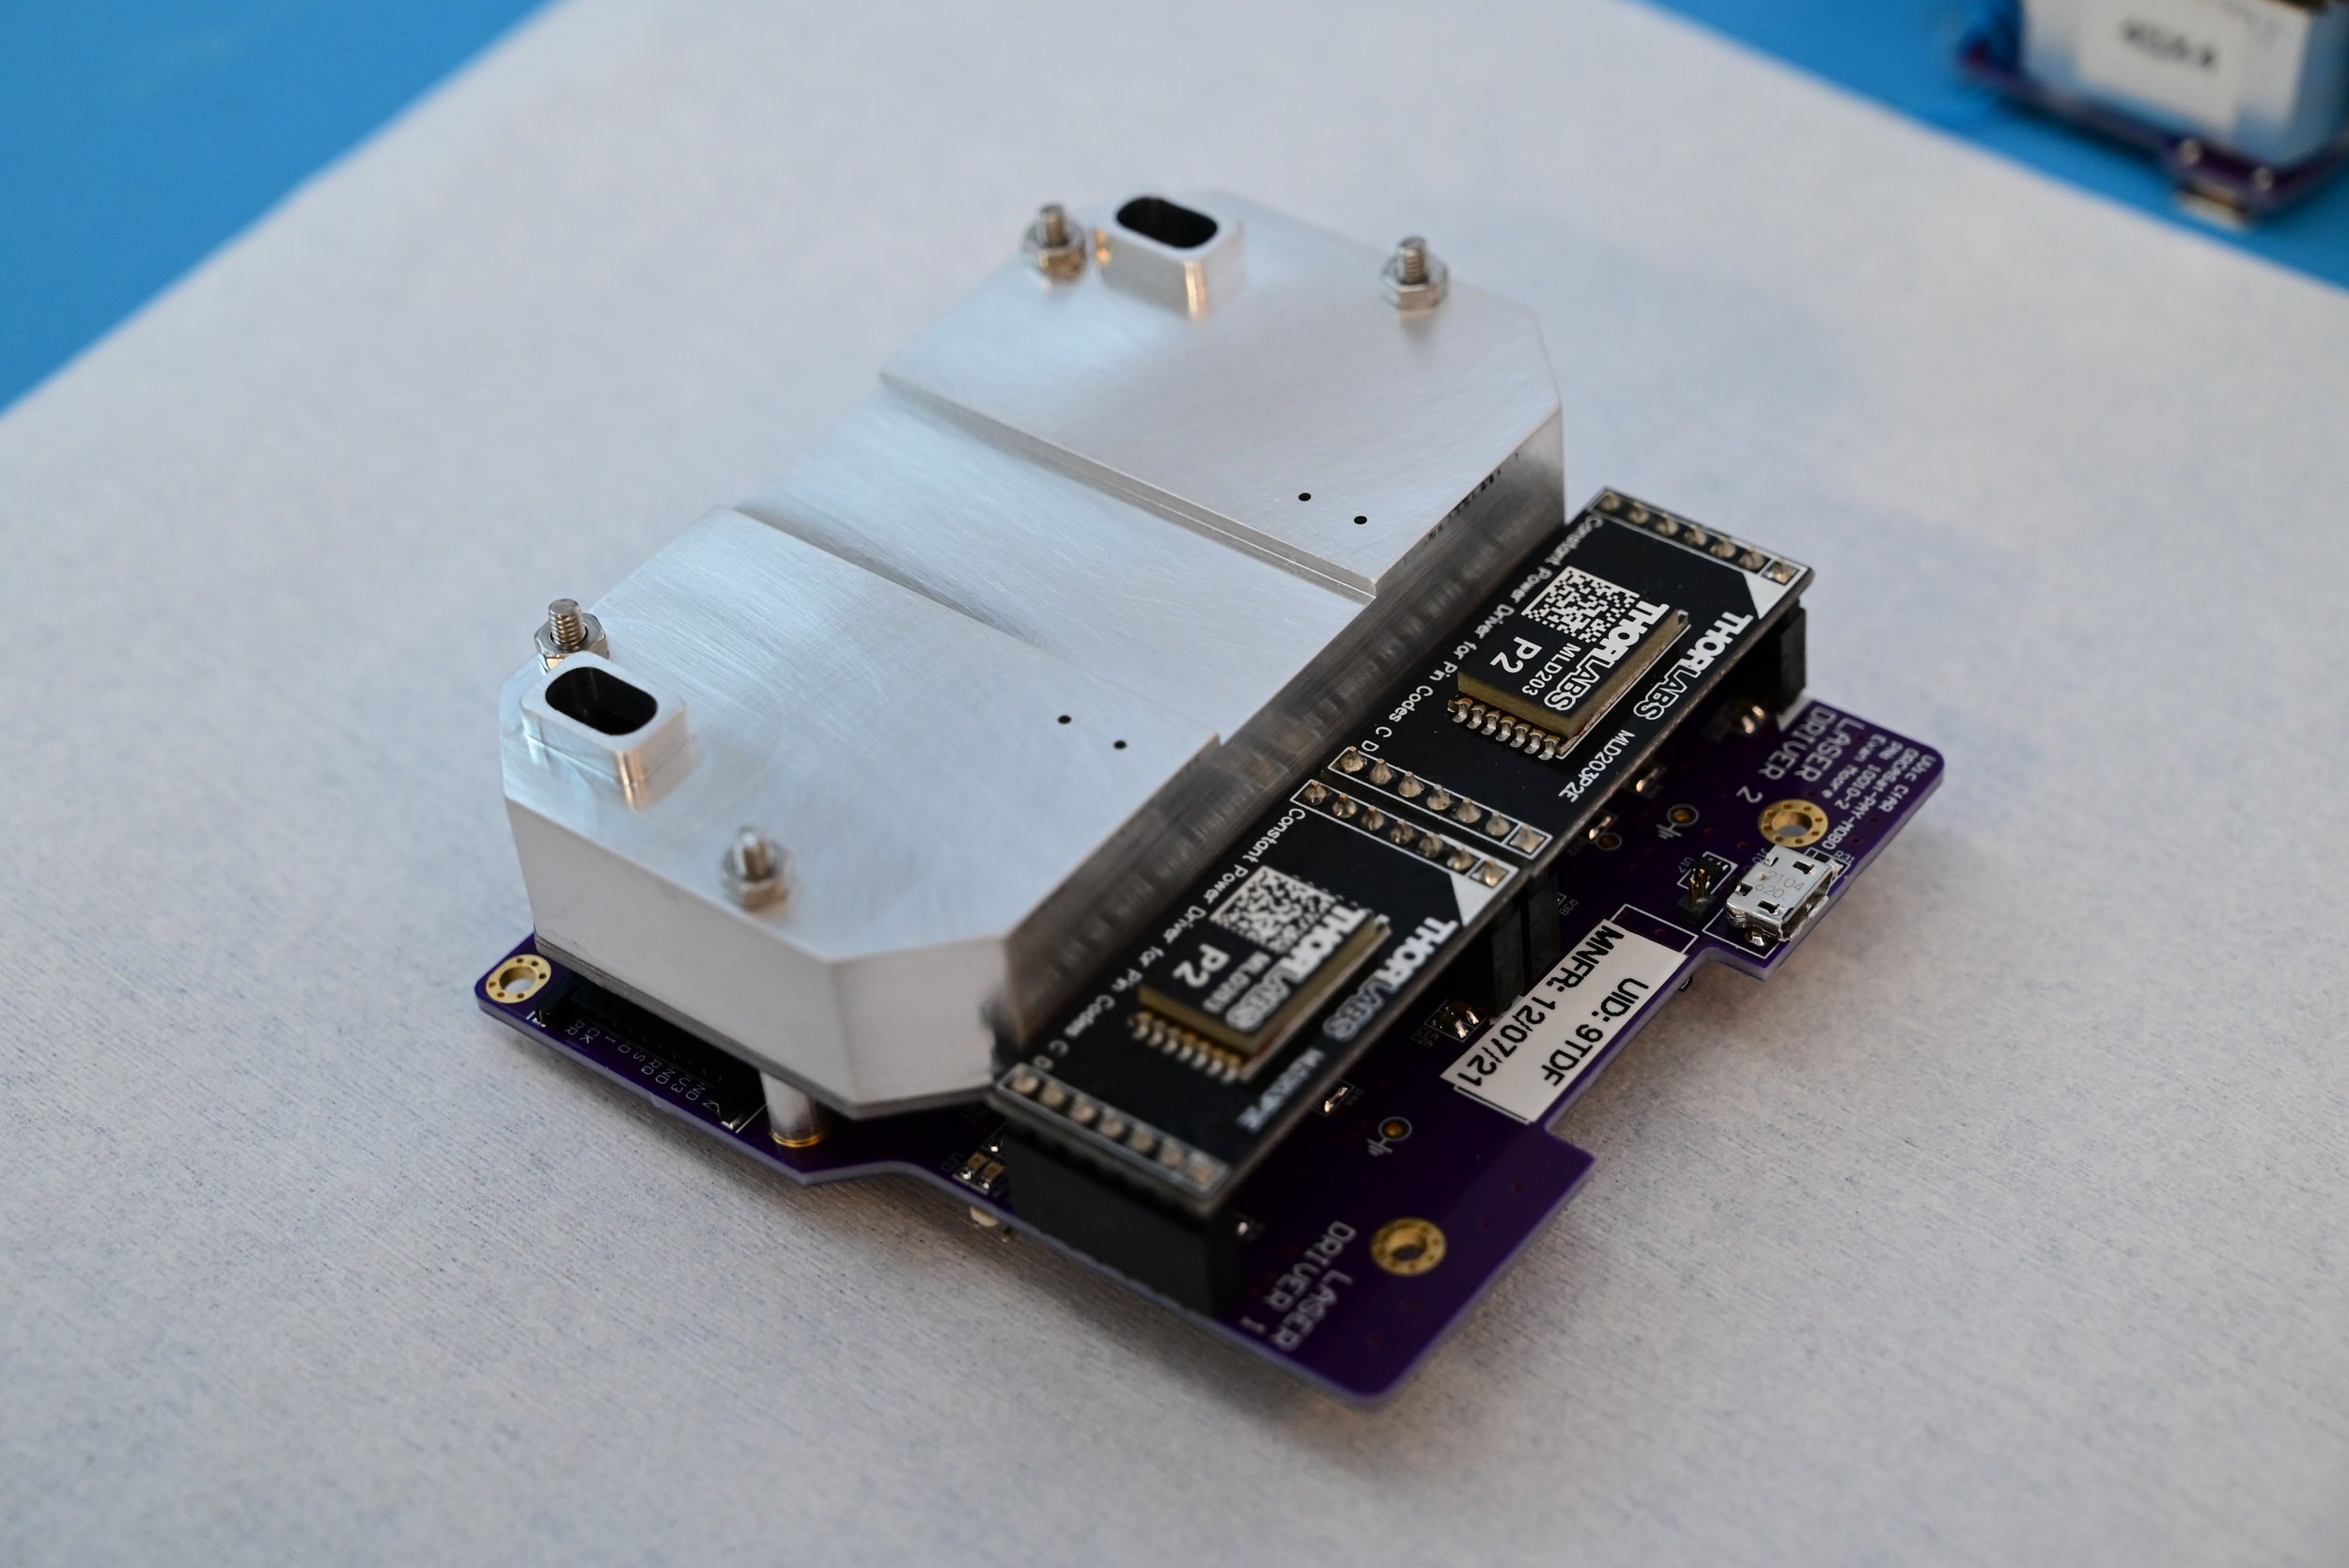
Unfortunately we forgot to take photos of the next step, but the laser module heat sink was epoxied to the integrating sphere. After the laser module was attached, the electronics were removed from the engineering model and assembled.
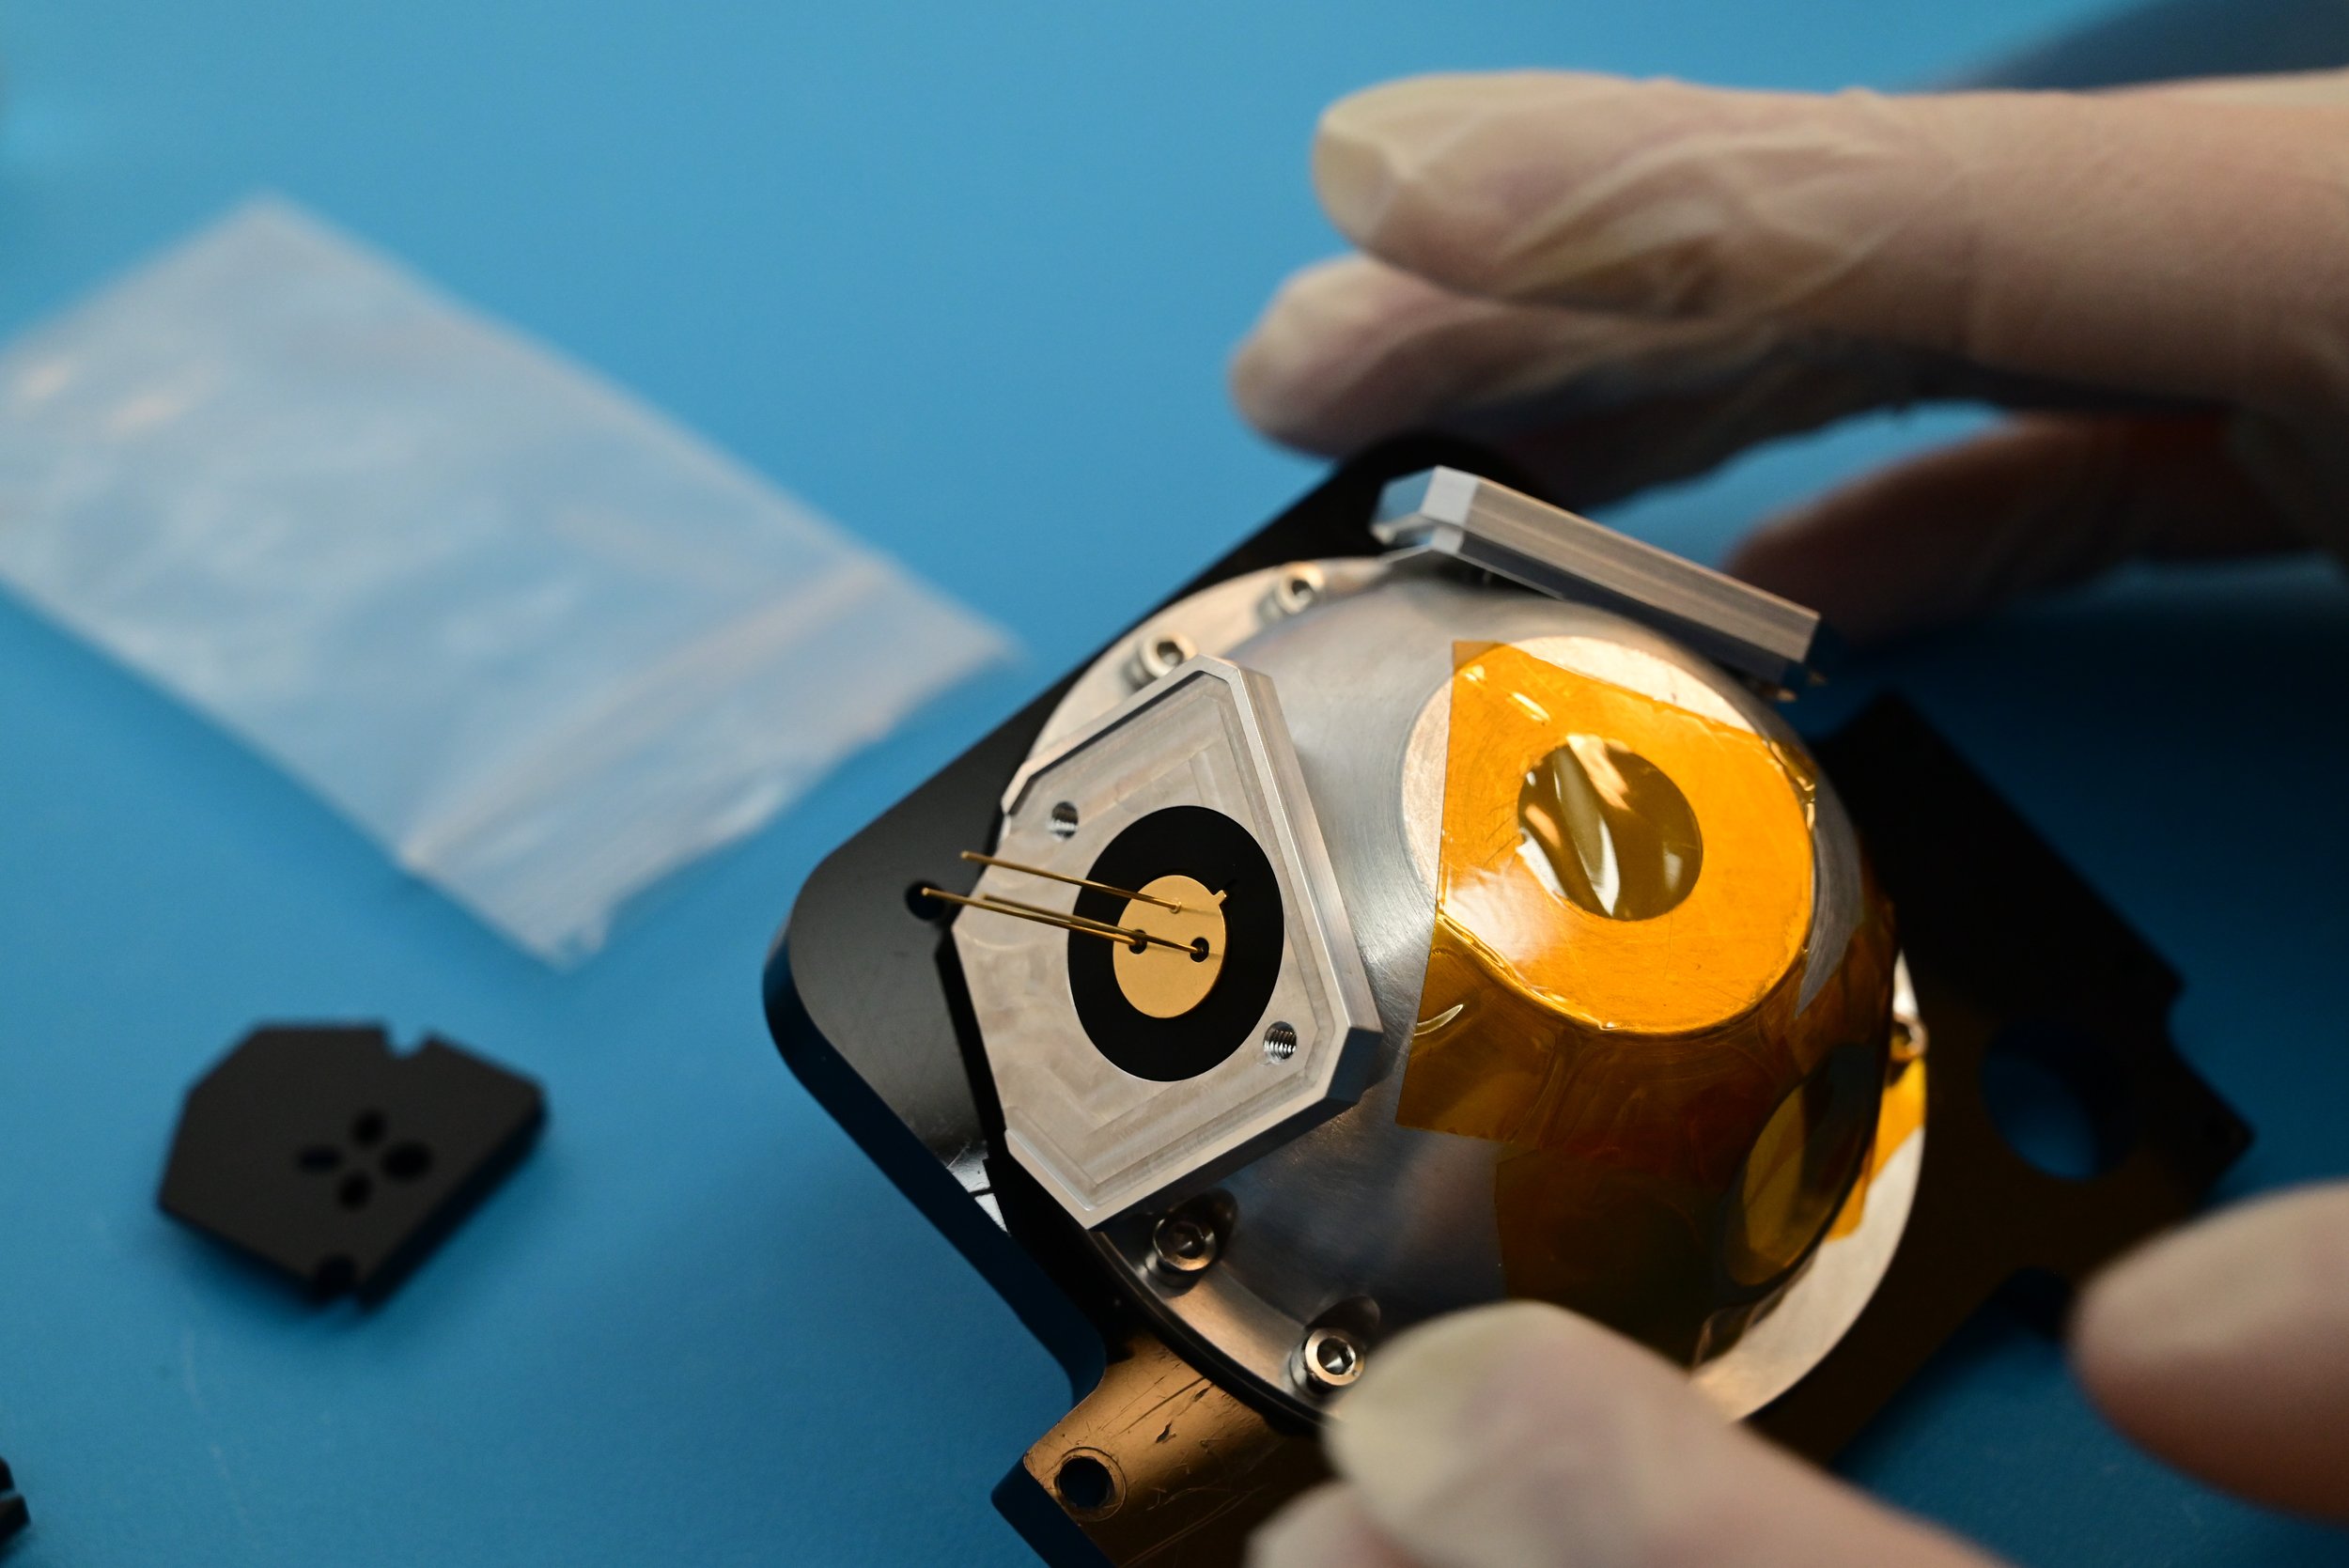
Lastly, the electronics and integrating sphere assembly was put together, completing the payload module assembly. Start-to-finish the payload assembly process takes 3-4 days. It is an extremely tedious instrument to assemble, but it’s an experimental payload that is 1 of 1, so this sort of trade off is reasonable. See the youtube video slideshow for more pictures.